

 English
 Español

How to Replace a Fuel Line Safely: Fittings, Pressure Testing and Leak Checks
Content
- 1 Why Fuel Lines Fail — and What the Leak Is Telling You
- 2 Tools and the Depressurization Sequence
- 3 Step by Step: Out With the Old Line, In With the New
- 4 The Pressure Behind the Nut
- 5 Matching Line Material and Fitting Style
- 6 Pressure Test, First Start and the 24-Hour Check
- 7 When It Is an Injector Line, Not a Fuel Line
- 8 Frequently Asked Questions
- 8.1 How much does it cost to replace a fuel line?
- 8.2 Can I drive with a leaking fuel line?
- 8.3 How long does a fuel line replacement take?
- 8.4 What is the difference between a fuel line and a fuel injector line?
- 8.5 Can I repair a fuel line with rubber hose and clamps?
- 8.6 Why does my car still smell of fuel after replacing the line?
Two things end most fuel line jobs early: a flare nut rusted solid to the rail, and a first start with no pressure check. Everything else — cutting, bending, bleeding, re-clipping — is routine once the system is bled down and the fitting type is identified.
Budget the work honestly. On a port-injected car with a lift or four jack stands, a tank-to-rail steel line runs 1.5 to 2.5 hours of hands-on time, and a pre-bent OE replacement line with new clips usually lands somewhere between 30 and 150 dollars in parts. That estimate covers the low-pressure side of a gasoline system. Injector feed lines on a common-rail diesel or a GDI engine are a different category of job with different rules, and they are covered separately further down.
- Job time: about 1.5–2.5 hours for a tank-to-rail hard line
- System pressure to relieve first: 35–60 psi on port injection
- Most common failure point: pinhole rust under a steel retaining clip
- Most common comeback: a seat that was tightened but never cleaned
- Leak check window: five minutes at idle, then one full heat cycle, then 200 km
Why Fuel Lines Fail — and What the Leak Is Telling You
Fuel lines rarely fail in the middle of a straight run. They fail where something touches them: under a plastic retaining clip, at the tank sending-unit connector, or a few centimetres from a hot exhaust component. Four patterns cover most low-pressure failures:
- Pinhole rust beneath a steel bracket. The coating gets crushed when the clip is fitted, road salt creeps under it, and the tube perforates from the outside in. You usually smell fuel weeks before you see a drip.
- A weeping quick-connect. The O-ring hardens through heat cycles and the plastic retainer loses tension, so the joint seeps while the rail is pressurized and stops seeping once the engine is off.
- A hairline crack in a nylon line near the tank fitting. Heat cycling and ethanol-blended fuel embrittle the tube exactly where it bends, which shows up as a cold-start fuel smell in the cabin or the boot.
- A swollen rubber section. Low-pressure hose that was never rated for E10 or E85 softens from the inside and starts to weep at the clamp long before it bursts.
Where the damage sits decides the repair. A single pinhole at the last bracket can be repaired with a short section and a proper splice on a low-pressure return line. A line that is pitted along its length, or any line on the pressure side of a GDI system, gets replaced end to end — no splice, no exception.
Tools and the Depressurization Sequence
Half of the fuel line jobs that go wrong go wrong before a wrench touches a fitting, because the system was not fully bled. The other half fail because someone reached for an open-end spanner and rounded a 10 mm flare nut at the first hard turn.
What to have within reach
- Flare nut wrenches in both sizes the line uses — a normal open-end spanner spreads under load and chews the hex.
- A disconnect set for SAE J2044 quick-connects; the plastic fork tools cost less than one broken retainer.
- A fuel pressure gauge with a bleed valve, plus a hand vacuum pump for emptying a line you have already removed.
- Tube cutter, deburring tool and a bending spring or pliers if you are forming a universal line on the bench.
- Jack stands and wheel chocks, a dry-chemical extinguisher, nitrile gloves, safety glasses and a drip tray.
- Cable ties and a marker — you will not remember the routing on a rear bank once the old line is out of the car.
Depressurize in this order
- Park on level ground, chock the wheels and disconnect the negative terminal.
- Pull the fuel pump fuse or relay and crank the engine for 5–8 seconds until it stalls. This burns rail pressure off instead of spraying it across the engine bay.
- Open the filler cap to release any pressure held in the tank.
- Wrap a rag around the rail Schrader valve and bleed what remains through a gauge. On a returnless port-injection system, expect 55–60 psi at this point.
- Mark both ends of the line and photograph the routing before loosening anything.
Step by Step: Out With the Old Line, In With the New
Work from the tank forward. The tank end sets the position of everything else, and the brackets you cannot see are almost always the ones that chafe a new line through.
Figure: the four points where a low-pressure fuel line is most often damaged or fitted wrong — clip, seat, tube coating and bracket.
- Identify both fittings. A 45-degree SAE flare, an ISO bubble flare, a banjo bolt and a quick-connect each need a different tool and a different torque value. Photograph each one next to a ruler.
- Hold the mating half with a second wrench and turn only the nut. If it will not move, use penetrating oil and patience; heat on a fuel line is a last resort and never with an open flame.
- Release the clips by squeezing their tabs, not by levering them with a screwdriver. Many are single-use, so price new ones into the job.
- Withdraw the line from the tank end first, following its original path around the heat shields and away from the exhaust.
- Compare old and new on the bench. Overall length should match within about 3 mm, the seat angle must be identical and the bracket spacing must line up. A line that is 10 mm short drags the threads sideways as you tighten.
- Thread the nut by hand for the first three turns before any wrench goes on. A cross-threaded flare nut turns a two-hour job into a fuel rail replacement.
- Torque to the OEM figure, then refit every bracket and clip. The brackets carry vibration, not the nut — a line left free to vibrate will crack at the seat within a season.
- Reconnect the battery, refit the fuse and cycle the ignition three or four times, two seconds on and off, before cranking.
The Pressure Behind the Nut
The nut you are tightening is often the same size whether the system runs at 40 psi or 2,000 psi. That is why material and seat condition matter far more than how hard you pull on the wrench.
Typical fuel system pressures
Read the chart as a warning about torque discipline. A fitting on a returnless port-injection line holds roughly 58 psi; the same style of nut on a GDI rail contains two orders of magnitude more. On the high-pressure side, follow the OEM torque and treat crush washers and single-use olives as consumables — they are not reusable, however clean they look.
Matching Line Material and Fitting Style
A pre-bent OE line is nearly always cheaper than universal tube plus fittings once the hours are counted, because it fits on the first attempt and keeps the original bracket spacing. Use the table below to sanity-check what is going back on the car.
| Line material | Typical working pressure | Where it holds up | Watch out for |
|---|---|---|---|
| Coated steel hard line | 1,000 psi and above | Long runs under the floor, GDI feed pipes | Coating crushed by clips; rusts from the outside in |
| Nylon (SAE J2260 type) | 100–150 psi | Returnless port injection, tank-to-rail runs | Embrittles at tight bends; UV degrades exposed sections |
| Braided PTFE, stainless overbraid | 1,000 psi and above | Off-road and high-vibration installations | Abrasion against brackets; needs matched end fittings |
| SAE 30R9 rubber hose | 100 psi working, 4x burst | Short flexible sections where the OEM used hose | Heat and ethanol soften older 30R1 and 30R7 grades |
Fit matters as much as the material grade. A pre-formed line with the correct OE seat angle torques down in one pass; a universal line that has been bent by hand often needs the seat re-cut and still leaks.
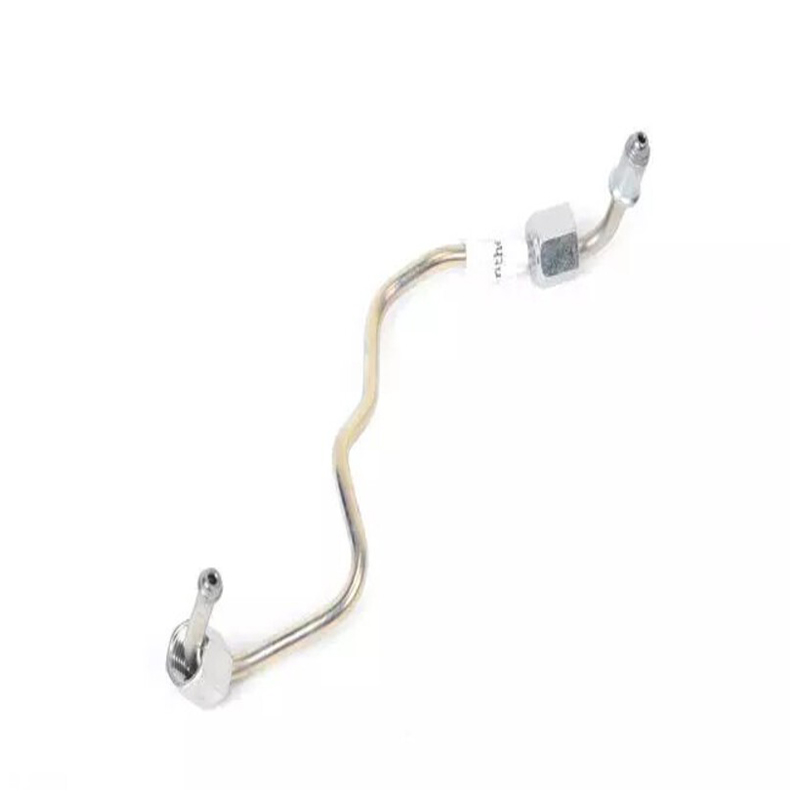
 Pre-Formed Fuel Supply Lines with Correct Seat AnglePre-formed fuel supply lines with the correct OE seat angle torque down in one pass, helping avoid leaks from hand-bent universal replacements.View Product →
The usual comeback is not a bad line but a dirty seat — grit or old sealant under the flare will weep within a week no matter how carefully it was torqued. For the cleaning, sealant and seating rules that prevent that, see our notes on leak-free pipe fitting practice.
Pressure Test, First Start and the 24-Hour Check
- Key on for two seconds, off, three times. Look under the car with a torch before cranking — a seeping seat shows as a dark wet line on the fitting, not as a puddle.
- Start the engine and idle for five minutes. Rail pressure should sit inside the OEM window and hold after shutdown; a gauge that falls steadily points to a leaking seat or injector.
- Switch off, let the engine cool fully, then run a clean rag around every joint. Any wetness means re-seat the fitting — not tighten it harder.
- Re-check after one complete heat cycle and again at roughly 200 km. A fuel smell that returns after a heat cycle is a seat problem, not spilled fuel burning off.
Keep the old line for a week if you have the space. Comparing a suspected leak against the failed original is faster than guessing where the smell originates.
When It Is an Injector Line, Not a Fuel Line
The line from the tank to the rail carries low-pressure fuel. The line from the rail to a single injector is a precision steel pipe working at up to roughly 2,000 bar on common-rail diesel and several hundred bar on GDI, and it is torque-critical down to the last newton metre. On many common-rail platforms an injector line that has been cracked open is treated as single-use, so replace rather than reuse.
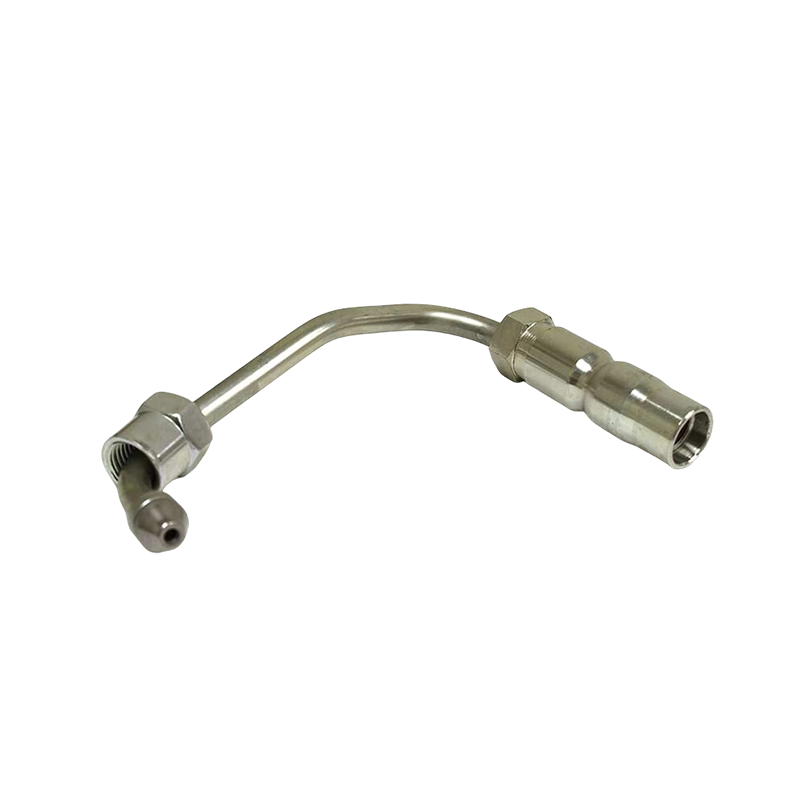
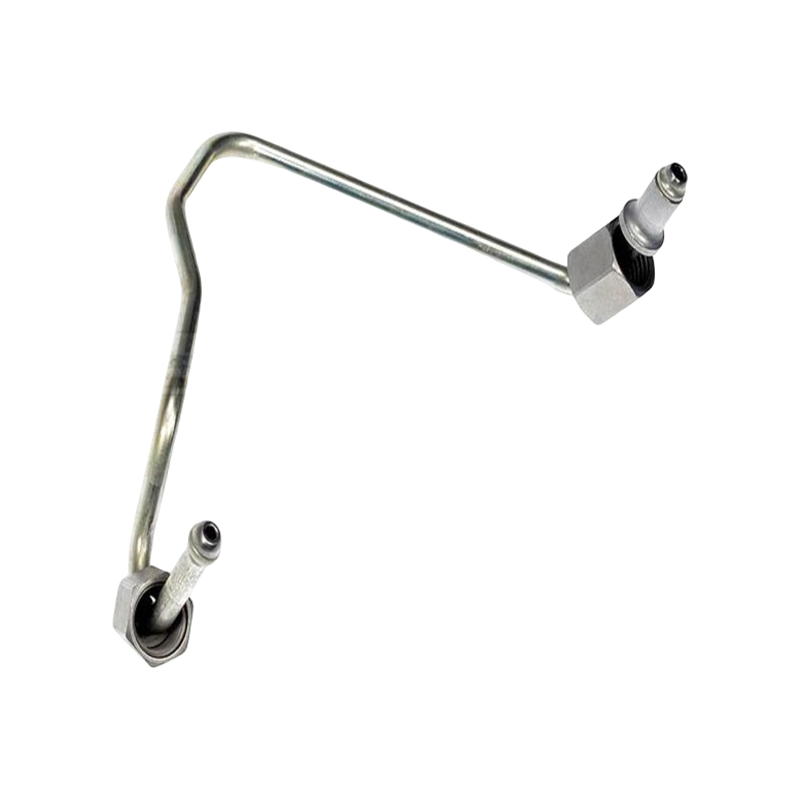
 Direct-Fit OE 98063063 High-Pressure Fuel Injector LineDirect-fit replacement for OE# 98063063, high-pressure diesel injector line restores precise fuel delivery; ordering by part number helps ensure correct seat angle and bracket spacing.View Product →
If you are matching an OE number rather than measuring a length, the fuel line and injector line range is organised by part number, so the seat angle and bracket spacing arrive correct instead of being adjusted on the car.
Frequently Asked Questions
How much does it cost to replace a fuel line?
For a pre-bent OE steel line on a common passenger car, parts typically run 30–150 dollars plus new clips, and a workshop bills 1.5–2.5 hours of labour. Universal line looks cheaper on paper but rarely is once fittings and extra hours are added.
Can I drive with a leaking fuel line?
No. A pinhole dripping once a minute still sits centimetres from a hot exhaust, and a small weep can become a fire risk within a single heat cycle. Repair or tow it before driving.
How long does a fuel line replacement take?
About 1.5–2.5 hours on a lift for a tank-to-rail steel line. Expect longer if the flare nuts are rusted solid or the fuel tank has to be lowered for access.
What is the difference between a fuel line and a fuel injector line?
The fuel line moves low-pressure fuel from the tank to the rail, typically 35–60 psi. An injector line feeds one cylinder at rail pressure — up to about 2,000 bar on common-rail diesel — and is a matched precision steel pipe.
Can I repair a fuel line with rubber hose and clamps?
Only on a low-pressure return run where the OEM used hose, and only with SAE 30R9 or better. Hose and worm-drive clamps are not acceptable on a pressurized feed line or any GDI and diesel high-pressure section.
Why does my car still smell of fuel after replacing the line?
Usually a seat that is not fully sealed, a reused crush washer, or a clip that never latched. Re-check every joint after one heat cycle; spilled fuel soaked into a heat shield can also smell for a few days.
Our Main Products

 Contact Us
+86-138 0586 3066
+86-574 8840 6311
 Products
 Send An E-mail
 Mobile
Copyright ©NINGBO JIATIAN AUTOMOBILE PIPE CO.,LTD. All Rights Reserved.
 China's Premium Automotive Tube Factory
Custom Automotive Pipe Fittings Supply
privacy